
Troubleshooting a noisy garage door at home starts with tightening loose hardware, lubricating the moving parts, and checking the door’s overall balance before assuming a bigger problem exists. Working through these steps in order often resolves the issue entirely, without requiring a full garage door service appointment right away.
A basic socket set and a reliable garage door lubricant cover most of what this process actually requires, along with a few minutes of patience. This guide walks through each troubleshooting step individually, explaining exactly what it fixes, how long it typically takes, and when it might not be enough on its own.
Key Takeaways
- Tightening loose hardware resolves rattling in many cases
- Lubricating rollers and hinges eliminates most squeaking sounds
- Cleaning debris from the tracks prevents grinding noises
- Testing door balance manually reveals hidden spring tension issues
- A few noise issues still require a trained technician afterward
Steps to Troubleshoot a Noisy Garage Door at Home
A structured, methodical approach to noise complaints, tackled one step at a time, prevents wasted effort on a fix that misses the actual cause entirely.
Troubleshooting Step | What to Do | What It Fixes |
Tightening hardware | Check bolts, brackets, and screws | Rattling and loose vibration |
Lubricating parts | Apply lithium grease to moving parts | Squeaking and dry friction |
Cleaning tracks | Wipe down with a damp cloth | Grinding from debris buildup |
Checking balance | Disconnect opener and test manually | Uneven strain on the opener |
Inspecting rollers | Look for cracks or flat spots | Grinding from worn rollers |
Listening during a cycle | Note when and where sounds occur | Pinpointing the exact source |
Moving through each step in order saves time, avoids unnecessary confusion, and often prevents the same repair from being needed again.
Tightening Loose Hardware and Brackets
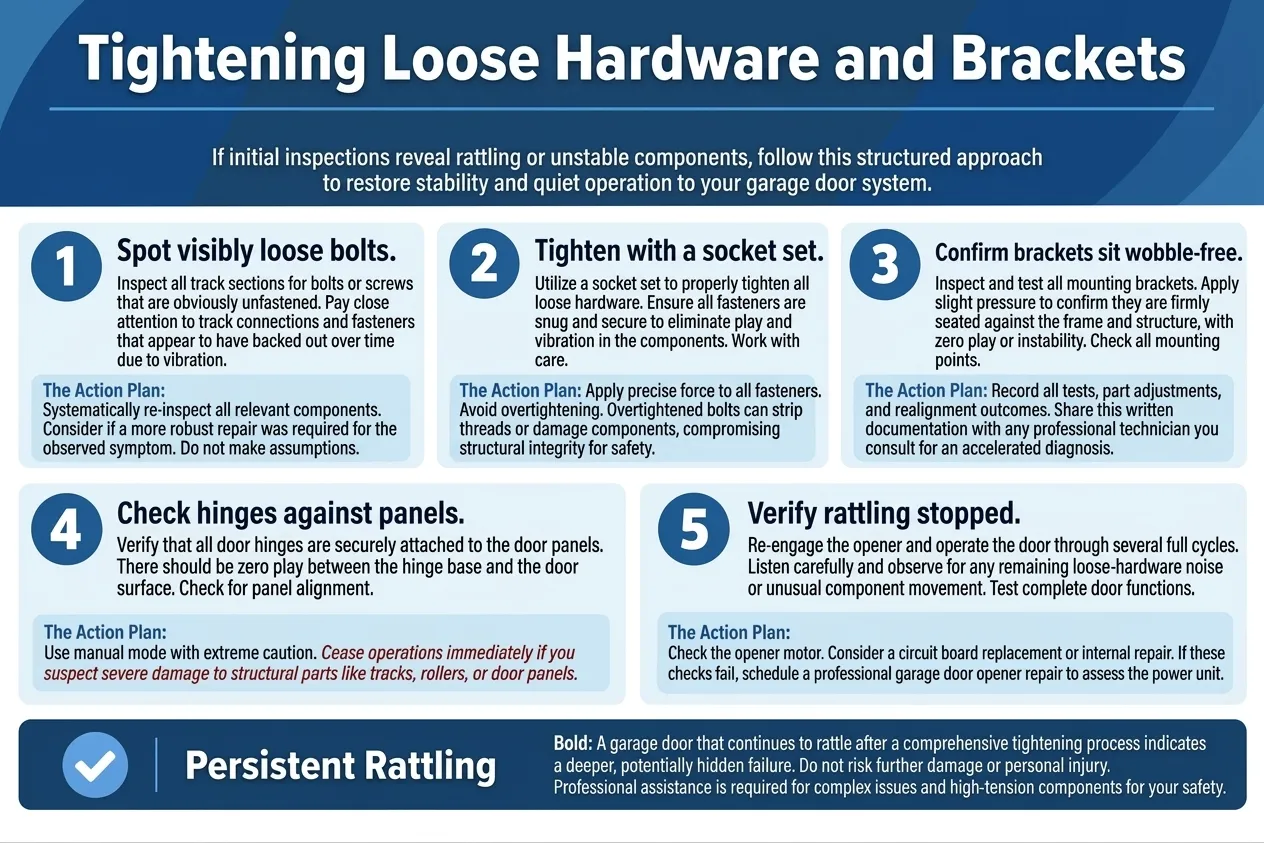
Daily use gradually loosens bolts and mounting brackets, making this the fastest fix available without any specialized tools.
Getting this step right usually means:
- Walking the length of the track to spot any visibly loose bolts
- Using a socket set to tighten hardware without overtightening it
- Checking mounting brackets for any visible wobble against the frame
- Confirming hinges sit snug against the door panels themselves
- Running a full cycle afterward to check whether the rattling stopped
Hardware that keeps loosening despite repeated tightening often points to a deeper issue worth a proper garage door repair inspection.
Lubricating Rollers, Hinges, and Tracks
Dry moving parts respond to lithium grease faster than almost any other troubleshooting step, often resolving squeaking within one application.
Getting the lubrication right involves:
- Wiping away old, dried lubricant before applying anything new
- Applying grease directly to hinges, rollers, and the chain drive
- Avoiding excess grease that could attract dust and debris
- Running the door through a full cycle to work the lubricant in
- Repeating the application if squeaking persists after a few days
To understand why dry parts create so many downstream noise issues, read our guide on What Causes a Noisy Garage Door?, which connects lubrication directly to several other common causes and how each one develops over time.
Cleaning Debris From the Tracks
Dust and small debris collecting inside the tracks over time frequently produce a grinding sound nearly identical to a worn roller.
Clearing this buildup typically requires:
- Wiping down both tracks fully with a damp cloth
- Removing any visible buildup near the rollers themselves
- Checking for rust forming where moisture has collected
- Avoiding harsh chemicals that could damage the track finish
- Running a full cycle afterward to confirm the sound is gone
Garage door maintenance performed on a consistent schedule keeps this kind of buildup from turning into a recurring headache.
Checking and Testing Door Balance
Uneven spring tension throws the entire door out of balance, and testing for it takes only a few minutes without any tools at all.
Running this test properly means:
- Disconnecting the opener before testing the door manually
- Lifting the door halfway and releasing it gently
- Watching whether the door stays in place or falls on its own
- Noting any resistance felt during the manual lift
- Reconnecting the opener once the test is complete
To identify how specific sounds signal a balance problem, read our guide on Common Sounds a Garage Door Makes and What They Mean, which connects each noise type to its likely cause and what typically happens if the imbalance goes unaddressed.
Inspecting Rollers for Wear or Damage
Years of use wear rollers unevenly, and a close visual check often reveals the exact source of a grinding or scraping sound.
A thorough inspection covers:
- Looking closely for cracks or chips along the roller surface
- Checking for flat spots caused by the door resting too long
- Comparing wear across all rollers to spot early warning signs
- Testing whether the roller spins freely inside its bracket
- Noting whether any roller looks noticeably different from the rest
A broken garage door spring should never be inspected using this same manual method, since spring tension carries a genuine risk of serious injury.
Listening for the Source of the Noise During a Full Cycle
A complete open-and-close cycle, watched and listened to carefully, often narrows down the source faster than a visual inspection alone.
Getting the most out of this step means:
- Standing at a safe distance during the full cycle
- Noting the exact moment the sound occurs during operation
- Comparing sounds heard during opening versus closing
- Paying special attention to sounds near the opener itself
- Repeating the cycle once more to confirm the pattern holds
Timing the sound this precisely often confirms which of the earlier steps actually solved the problem, or reveals that a different cause is still at play.
When to Stop and Call a Professional Instead
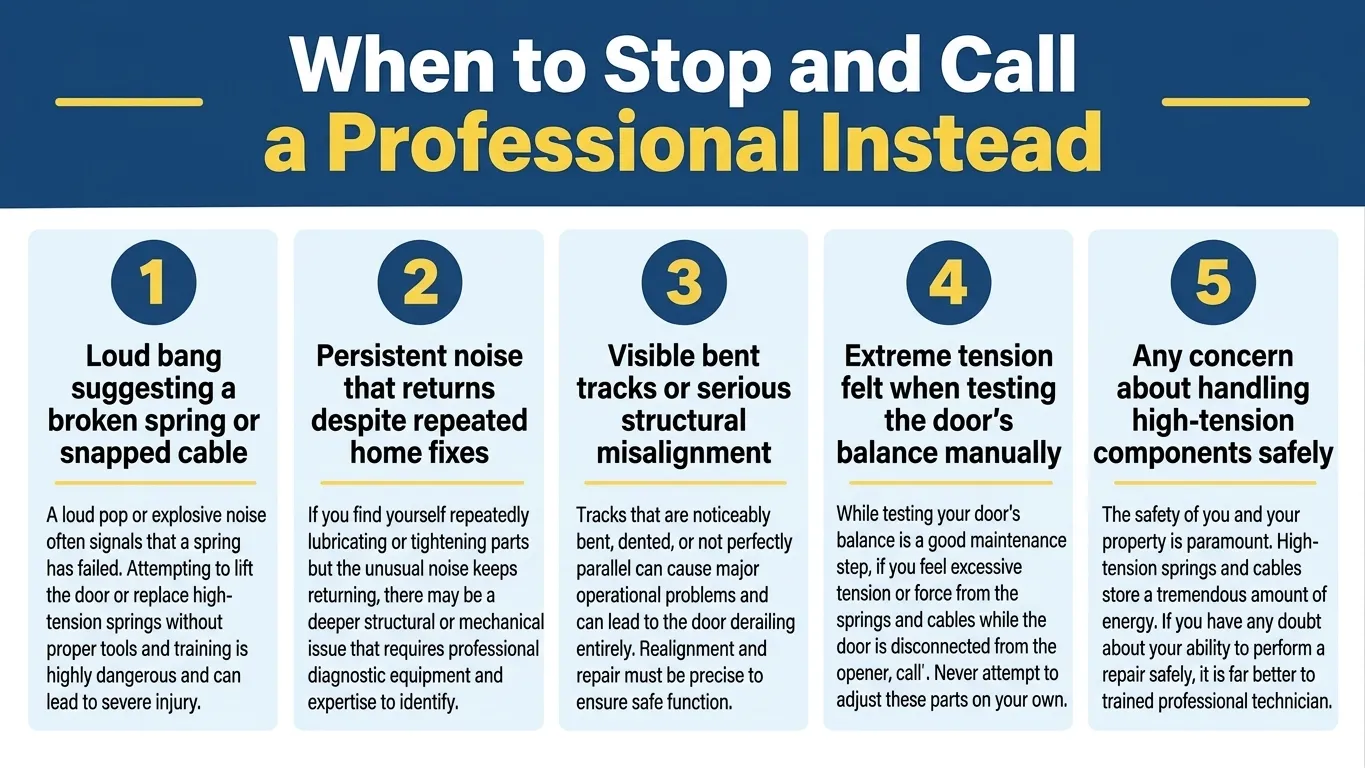
A few of these steps resolve common noise issues, though specific situations call for professional expertise rather than continued DIY fixes.
Signs it may be time to stop troubleshooting include:
- A loud bang suggesting a broken spring or snapped cable
- Persistent noise that returns despite repeated home fixes
- Visible bent tracks or serious structural misalignment
- Extreme tension felt when testing the door’s balance manually
- Any concern about handling high-tension components safely
To find out which of these signs point toward professional help, read our guide on When Does a Noisy Garage Door Need a Professional?, which explains the situations that call for real expertise beyond a simple home fix.
A Quiet Garage Door Starts With the Right Troubleshooting Steps
Troubleshooting a noisy garage door at home rarely takes more than an afternoon, and most homeowners resolve the issue without any specialized tools or outside help. Following each step in order builds confidence and often prevents a small issue from causing a larger repair.
Affordable Garage Door Repairs of Indianapolis, LLC supports residents across Indianapolis, IN, whenever a home fix isn’t enough to fully resolve the noise. Contact us or give us a call today, and let our team provide the professional repair that gets the door running quietly again.